The Complete Guide to Concrete Steps Installation for Norfolk County Homes
When I first moved to Norfolk County, I noticed something about the older homes here. The concrete steps at the front of the house were often the first thing to show wear. Cracks along the edges, a slight tilt toward the lawn, or a surface that had started to flake after years of freeze-thaw cycles. A well-done concrete steps installation makes the difference between a front entrance that feels solid and one that feels, well, a little tired.
Over the years, I have watched crews pour steps on everything from new builds to century homes. The process looks simple from the sidewalk, but it is full of small decisions that matter. Good concrete steps installation is not just about mixing bags and pouring them into forms. It involves understanding the ground, the weather, and the way people actually use those steps every day.
Getting the Ground Ready
Every solid set of steps starts below the frost line. In Norfolk County, the ground freezes deep enough that anything sitting on top of the soil will shift come spring. A proper gravel base, at least six inches of compacted stone, gives water a place to drain and stops the slab from heaving. I have seen too many jobs where someone skimped on the base, and within two years the steps had settled an inch on one side.
Once the base is down, the crew sets up forms. These are usually wooden frames that define the shape and rise of each step. A good concrete finisher will check the forms with a level and a string line, making sure the slope is just enough to shed water. Too flat and puddles form. Too steep and the steps feel awkward underfoot. The Ontario Building Code has specific requirements for riser height and tread depth, and a professional crew follows them closely. That is where hiring union-certified crews makes sense. They know the code and they work to it.
Rebar and Reinforcement
Concrete is strong in compression but weak in tension. That is where rebar reinforcement comes in. For steps, the steel needs to run both along the length and across the width, tied together at intersections with wire. Rebar chairs hold the steel up off the gravel base so it sits in the middle of the slab where it does the most good. Without those chairs, the rebar can sink to the bottom during the pour and the steps lose most of their crack resistance.
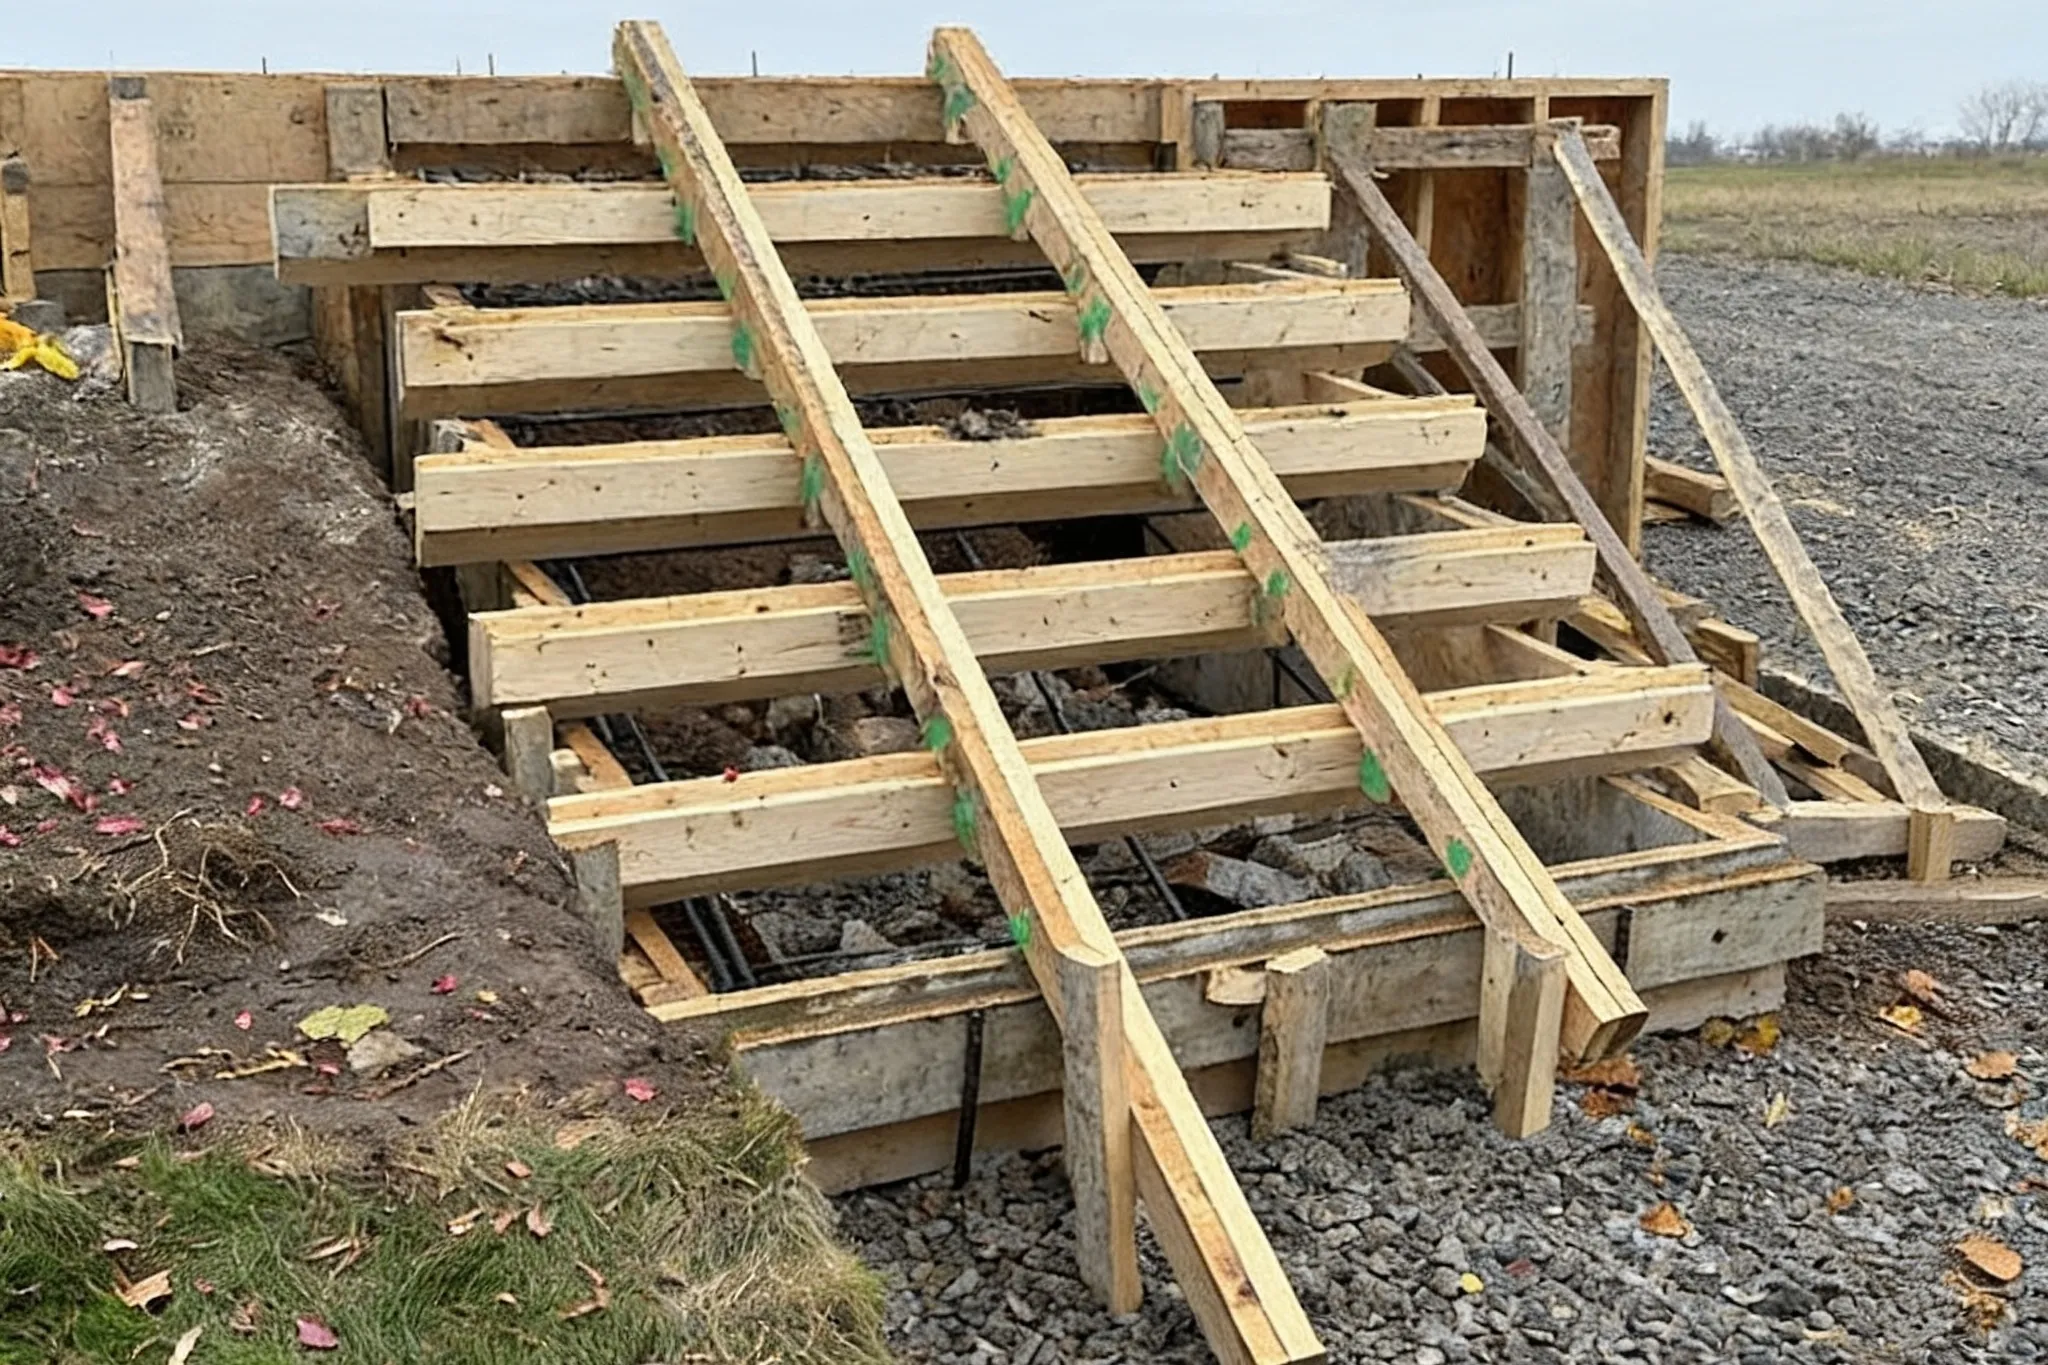
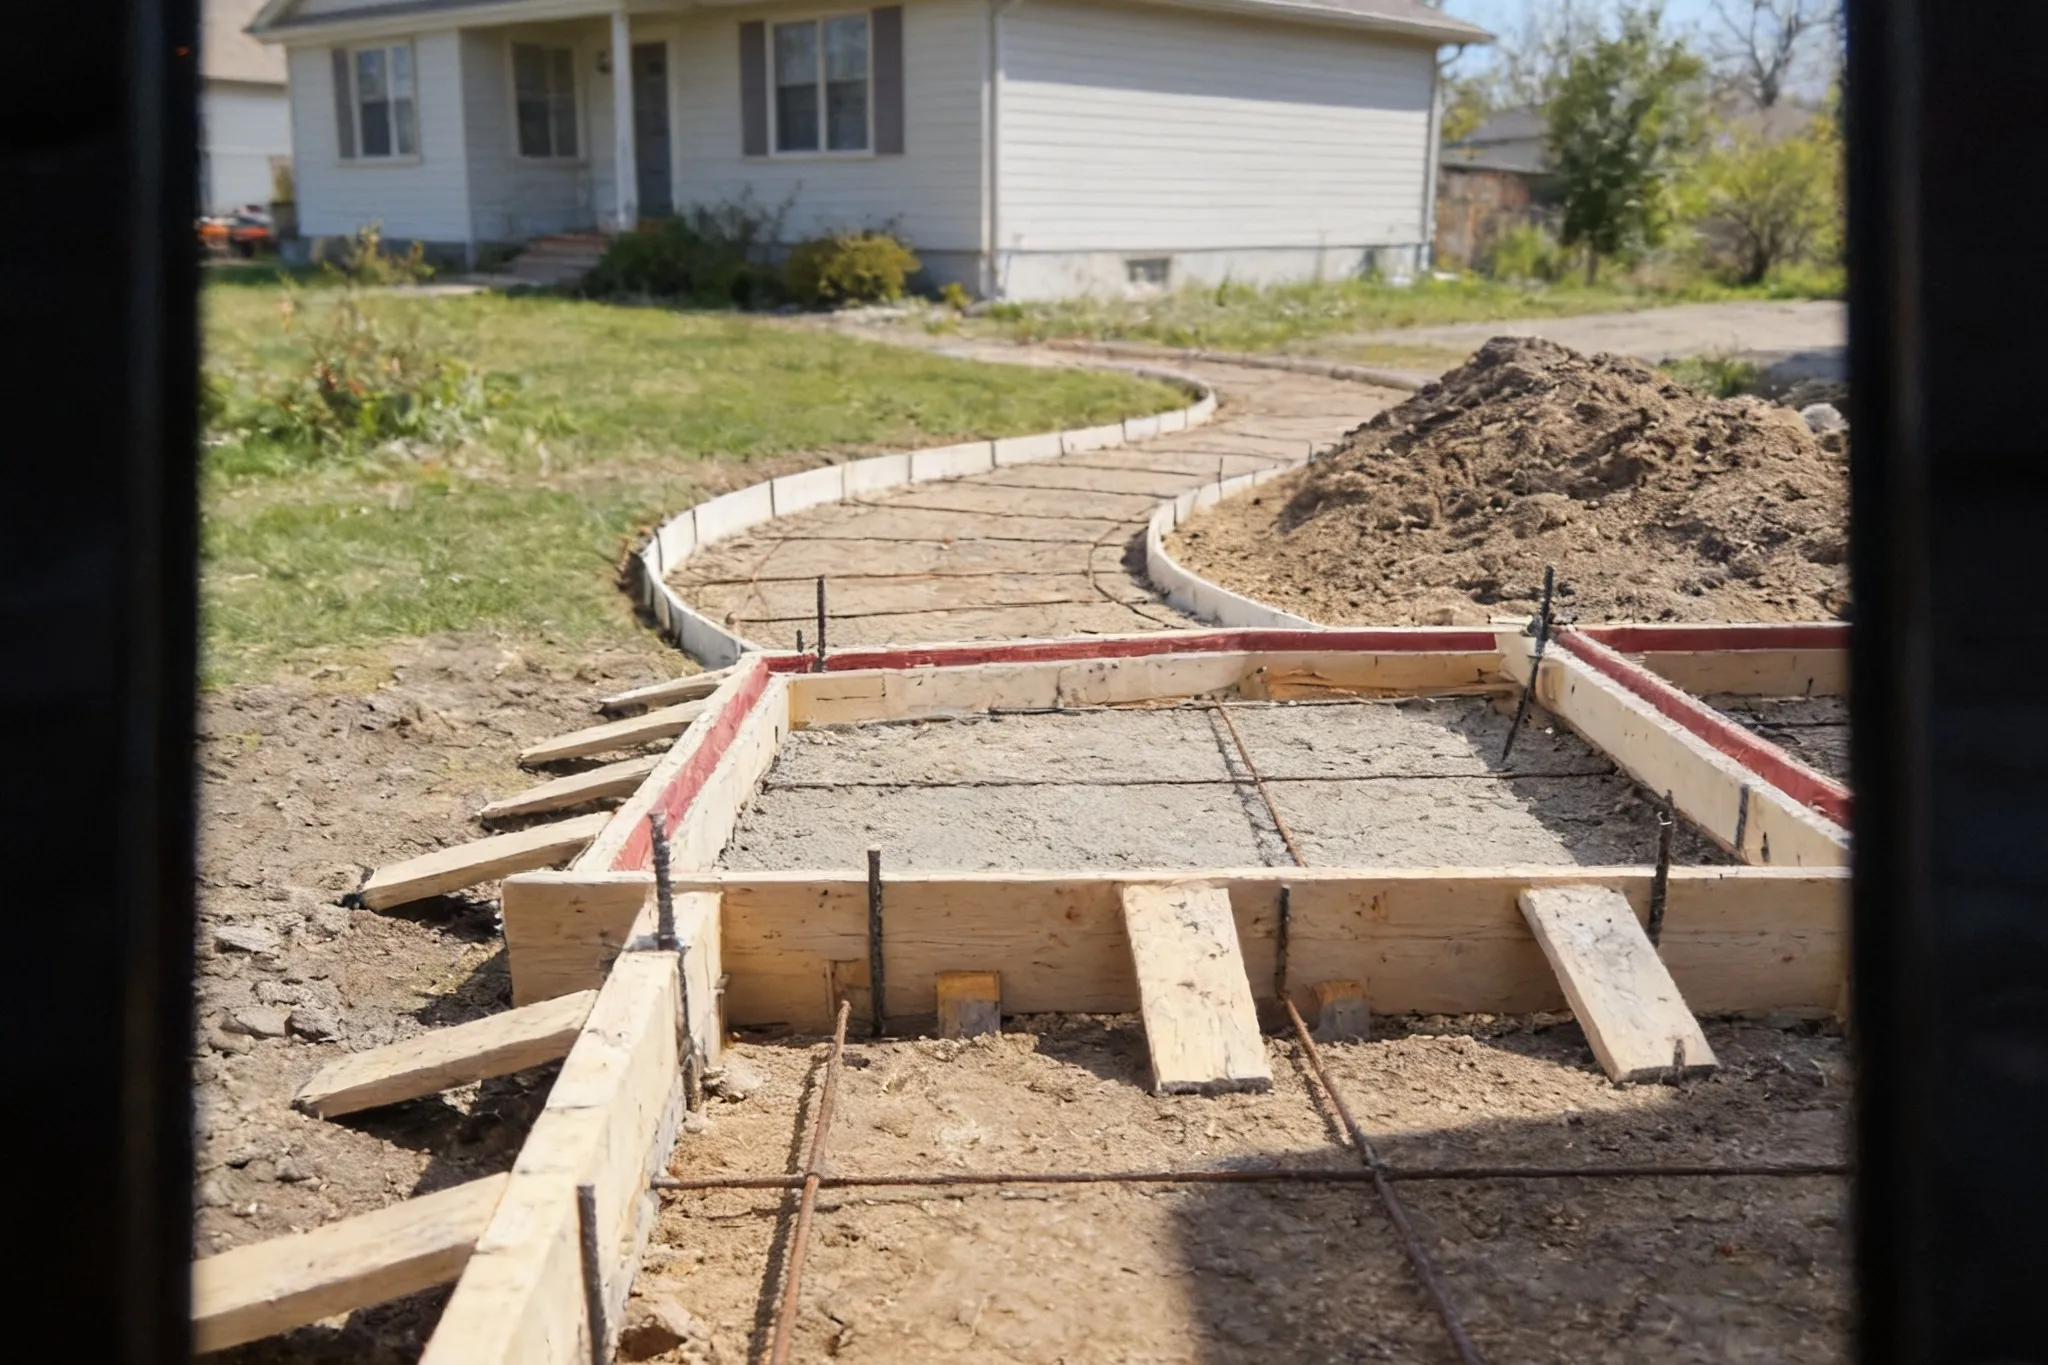
The size of the rebar matters too. For typical residential steps, 3/8-inch or 1/2-inch bars work well. The spacing depends on the span and the load, but a common pattern is twelve inches on centre in both directions. I have watched crews on driveway installation projects use similar spacing, and the same logic applies to steps. You want the reinforcement to catch the stress before the concrete does.
Mixing and Pouring
A concrete mixer on site is a good sign. It means the mix is fresh and the crew controls the water content. Too much water makes the concrete weak. A slump test tells you if the mix is right. The crew fills a metal cone with concrete, lifts it off, and measures how much the pile slumps down. For steps, a slump of about three to four inches is typical. Any wetter and the concrete may flow out of the forms or lose strength. Any drier and it becomes hard to work into the corners of the forms.
Pouring steps is a two-person job at minimum. One person handles the chute or the wheelbarrow, while the other spreads the concrete and works it into the forms with a shovel or a hoe. Air pockets are the enemy. The crew must poke and vibrate the concrete to settle it around the rebar and into every corner. I have seen a concrete finisher use a rubber mallet on the outside of the forms to help the bubbles rise out.
Finishing the Surface
Once the concrete is in the forms, the finisher starts the long process of smoothing the surface. A darby or a bull float knocks down the high spots and fills the low ones. Then comes the steel trowel, which gives the concrete its final texture. For steps, a light broom finish is standard. It adds traction without being rough on bare feet or knees. The timing of the broom pass matters. Too early and the concrete smears. Too late and the broom leaves deep grooves that trap dirt.
Expansion joints are cut into the surface while the concrete is still green but firm enough to hold a clean edge. A walk-behind saw with a diamond blade makes quick work of the cuts. The joints run across the treads and down the risers, usually at the same spacing as the rebar grid. They control where cracks form when the concrete shrinks as it cures. Without them, the steps can crack in random places that look ugly and weaken the structure.
Curing and Sealing
Fresh concrete needs to stay moist for several days to gain full strength. A curing compound slows the evaporation of water from the surface. Some crews spray it on right after finishing. Others cover the steps with wet burlap and plastic sheeting. The goal is the same: let the chemical reaction happen without the surface drying out too fast. In hot weather, that is even more critical. I have seen steps that looked fine on day one but developed a network of fine cracks by day three because the crew skipped the curing step.
After the concrete has cured for at least a week, a concrete sealer helps protect the surface from water, salt, and stains. Sealers come in different sheens from matte to gloss. For steps, a low-sheen sealer is practical because it does not show wear as quickly. The sealer should be reapplied every couple of years, especially on steps that face the sun and the rain.
Special Considerations for Norfolk County
Norfolk County has a mix of sandy soils and clay, depending on where you are. Sandy soil drains well but can shift under load. Clay holds water and heaves when it freezes. A concrete steps installation on clay needs deeper footings and better drainage than one on sand. A free quote from a local contractor should include a site visit to check the soil and the slope of the lot. That visit is worth the time.
Some homeowners in the area are choosing pervious concrete for their steps and patios. Pervious concrete lets water pass through the surface, which reduces runoff and helps recharge the groundwater. It is not as smooth as traditional concrete, and it needs more maintenance, but it is a good fit for properties with drainage issues. I have seen it used on concrete patios and walkways around Simcoe with good results.
For those who want a decorative look, stamped concrete is another option. The concrete is coloured and then pressed with a pattern that mimics stone, brick, or slate. Stamped steps require more skill to install because the stamping must line up across the risers and treads. A concrete finisher who does stamped work regularly will know how to time the stamping so the pattern is crisp and the colour is even.
Common Mistakes to Avoid
Here are a few things I have seen go wrong on concrete steps installation:
- Skipping the gravel base and pouring directly on soil. The steps will settle unevenly within a year.
- Using rebar that is too light or none at all. The steps crack at the corners first, then along the treads.
- Pouring in hot weather without keeping the concrete wet. Surface cracks appear before the pour is finished.
- Forgetting to slope the treads away from the house. Water runs back toward the foundation and causes trouble over time.
A good crew avoids these problems by following the same routine every time. They spend as much time on prep as they do on the pour. That is where the experience of union-certified crews shows. They have done it enough times to know what can go wrong and how to prevent it.
Maintenance After Installation
Once the concrete steps installation is complete, a little care goes a long way. Sweep off dirt and debris regularly. In winter, use a plastic shovel instead of a metal one to avoid gouging the surface. Avoid de-icing salts that contain ammonium nitrate or ammonium sulphate, because they attack the concrete. Plain calcium chloride is safer, or better yet, use sand for traction.
If a crack does appear, catch it early. Small cracks can be filled with a concrete patching compound. Larger cracks may need a concrete grinder to open the crack enough for the patch to bond. Ignoring a crack lets water get in, and freeze-thaw will make it bigger every winter.
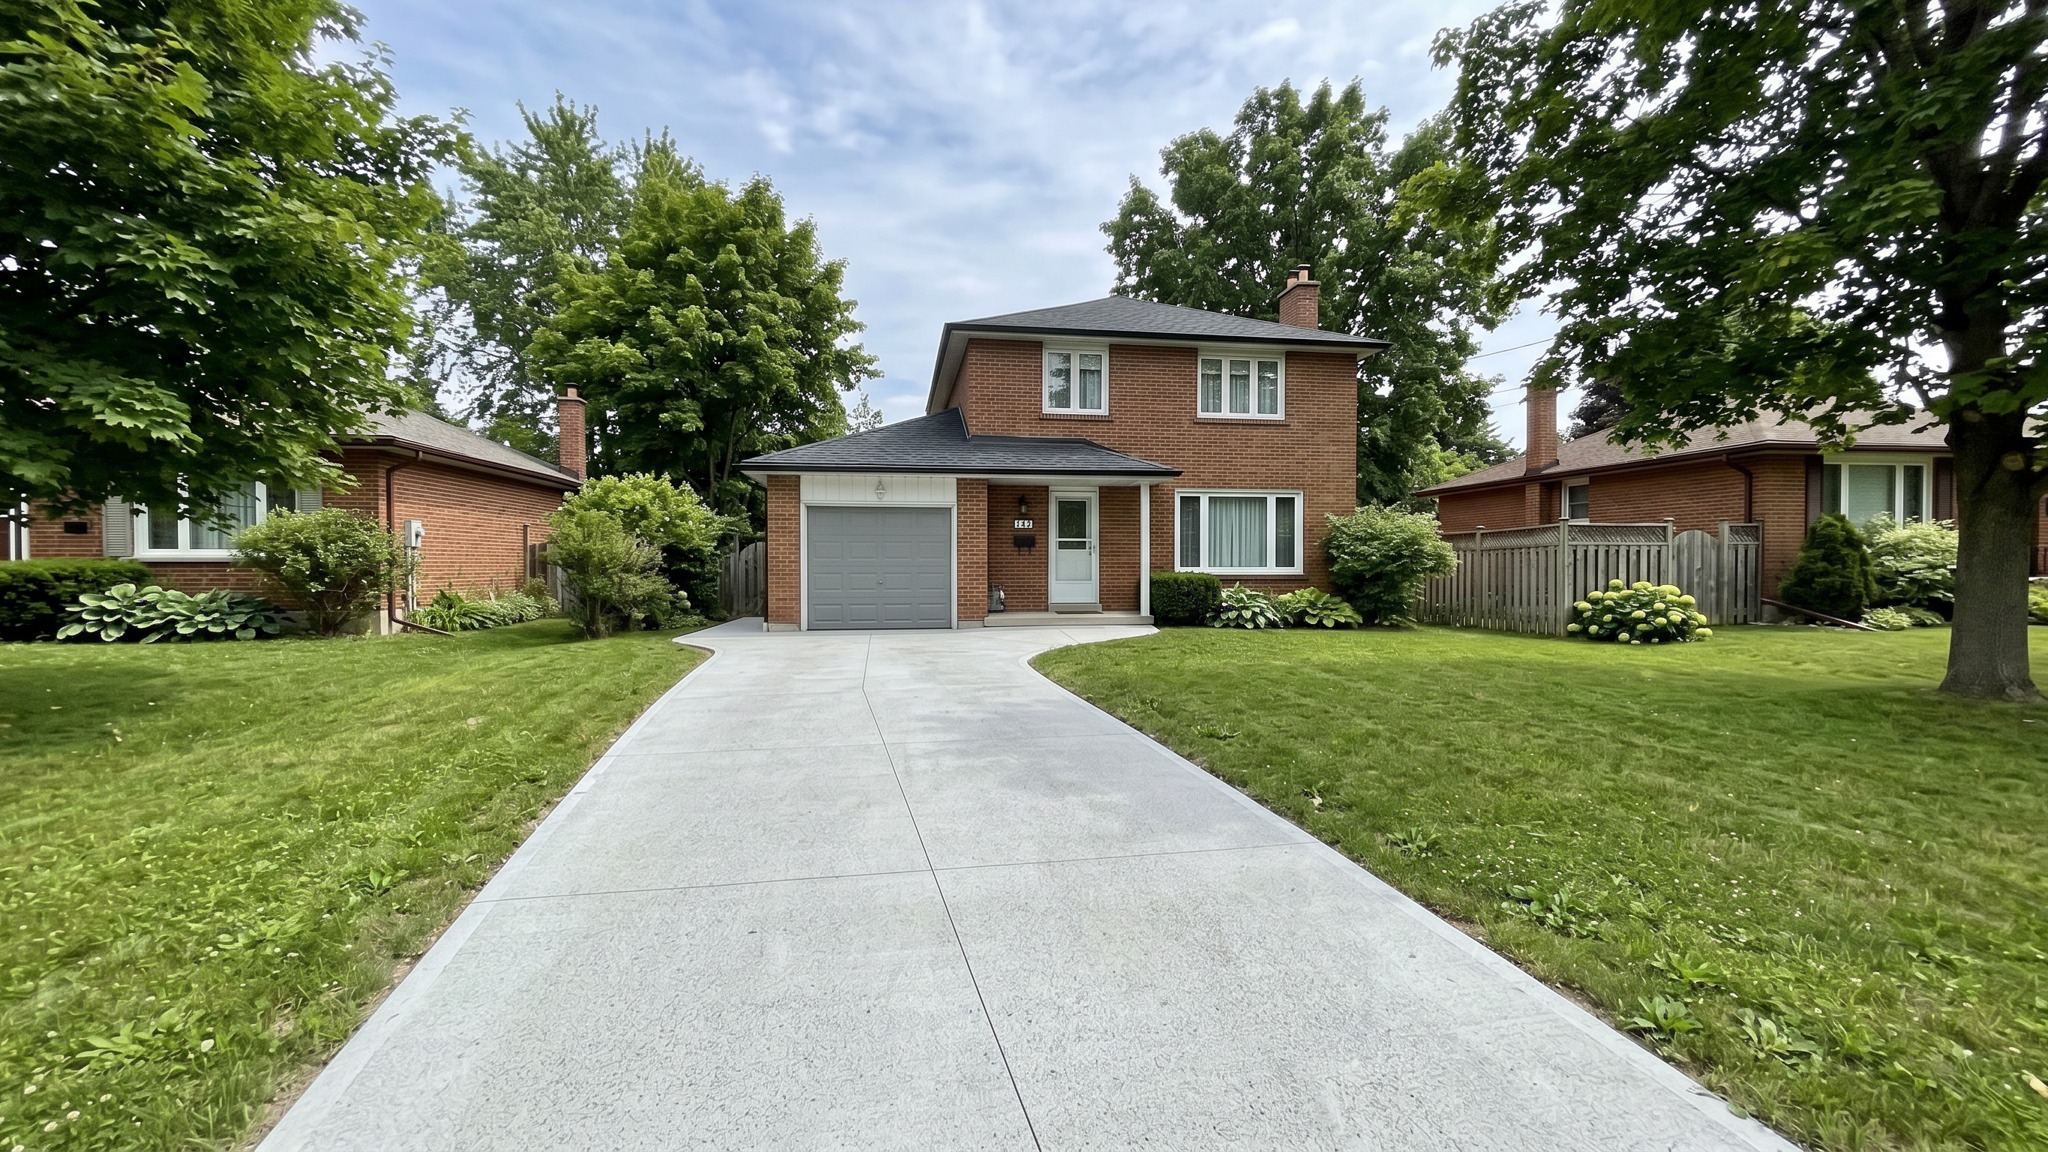
For steps that see heavy use, a reapplication of concrete sealer every two or three years keeps the surface looking fresh and protects against staining. It is a small investment compared to the cost of replacing the steps.
Final Thoughts
Good concrete steps installation is about the details that most people never see. The gravel base, the rebar chairs, the slump test, the timing of the broom finish, and the curing compound all come together to make steps that last decades. In Norfolk County, where the weather swings from humid summers to freezing winters, those details matter even more. Whether you are building new steps or replacing old ones, take the time to find a crew that does the job right the first time. A free quote from a local contractor is a good way to start the conversation.
If you are planning a project that involves foundation repair, driveway installation, or concrete patios, the same principles apply. Good prep, good materials, and good workmanship make the difference between a job you forget about and one you have to fix every few years. The steps at your front door deserve that same attention.